How does one learn to quilt? From overwhelm to confident.
Are you ready to learn to quilt? From overwhelm to confident, join me at my sewing table, let’s chat.
You saw a vintage quilt on Pinterest, and are new to sewing. You wonder if you could learn to quilt. Quilting on YouTube university seems so simple! Cutting up perfectly good pieces of fabric into smaller pieces and sewing them back together… so simple, right? In this world of AI, you want to make something beautiful. You have no idea where to begin or little experience sewing. You can make something beautiful, even if you have no idea where to begin.
We have enough destroyers in this world – be a creator of beauty.
Beauty is ordinary, everyday harmony, clarity, and order. Beauty isn’t about keeping up with trends. Trends come and go. Beauty is timeless.
Ordinary beauty is imperfect, yet orderly. We know when something is beautiful. Its reliability gives us hope. Beauty helps us feel safe, it gives us a settled place to be. Beauty is calming.
Pursuing ordinary beauty every day gives others a glimpse of what could be without the anxiety of needing perfection. Have you sat down to chat with a friend and she offered you a glass of water or a cup of coffee? A table to sit at with flowers in a vase? A simple glass of water or cup of coffee isn’t anything special. Her hospitality is what is special. The water in a glass and not a plastic cup, or hot coffee in a coffee cup is what makes the entire time together special. The same goes for creating a quilt for someone. It’s more than the thought that counts, it’s the act of making something beautiful for them.
When your two hands create something beautiful, you show love. Beauty is the radiance of truth, and we can be the person who takes part in that love.
Where do we start in creating the heirloom?
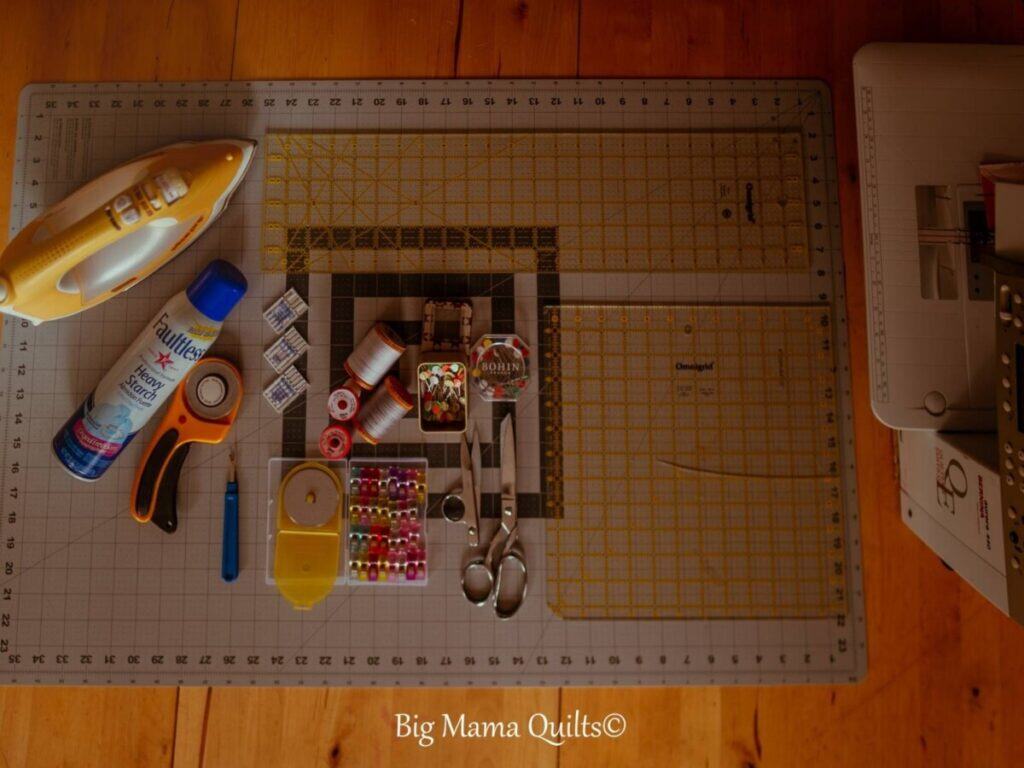
The tools we use will determine the quality of the quilt. The most expensive does not equal the best. You most certainly do not need every quilting tool available on the market when learning to quilt. A few tools, though, are worth buying the best you can afford, except for two — the sewing machine and starch. Most of the tools listed below are one time purchases that will last you a lifetime, these are your investment pieces. You can create any quilt using the same tools. You want to buy the best you can afford. The items like thread, needles, and starch you will need to repurchase as you use them. Thread and needles, you do need to purchase quality. Cheap thread and cheap needles break easily and lead to frustration. Your seam ripper will dull with use. Faultless spray starch is cheap and worth every penny.
What tools will help you be successful when learning to quilt?
I make a small commission from the Amazon affiliate links at no cost to you.
- A reliable working sewing machine. You do not need an expensive or fancy sewing machine to learn to quilt. Visit the thrift store, ask your neighbor, maybe an aunt has a sewing machine sitting in a closet. I highly recommend getting it serviced, so you won’t be frustrated by 20 years of lint and wondering what is causing the loud noise. Sewing machine servicing is expensive. If your machine appears to be in good shape and the motor makes an even sound, at the very least clean the machine. Amy Smart of Diary of Quilter has a fantastic tutorial at https://www.diaryofaquilter.com/how-to-clean-your-sewing-machine/ that I follow for cleaning my machine. Keeping my machine clean and maintained is why it still sews reliably.
- I have a Bernina almost 20 years old.
- I also have a Singer from 1998—my first machine before I bought my Bernina. My daughters now sew with it.
- A couple of years ago, I inherited my mom’s 1968 Singer when she bought a new Singer. I love this machine! It sews through canvas, denim, and satin like a hot knife through butter! Its all metal construction inside a wooden base makes it heavy and sturdy. It sews an incredibly straight straight stitch.
- Two pairs of scissors. A heavy duty pair of scissors reserved only for cutting fabric and a smaller pair for snipping threads at your sewing machine. Gingher scissors are my favorite — they are heavy and can be resharpened.
- A rotary cutter and self-healing cutting mat. I prefer the 60mm size. The larger blade will cut through more layers of fabric at one time. I prefer the 24×36”. It’s harder to store, but you can cut yardage and it fits well on my table.
- Quilting rulers. Omnigrid 6″x24” and 12.5”x12.5”. The 6″x24″ is great for cutting yardage, strips of fabric and smaller squares. 12.5″x12.5″ ruler is great for squaring up blocks after sewing them. Creative Grids is a great brand, and it has a non-skid surface on the back. The Omnigrid does not. I prefer my ruler to slide so I can move it where I want it. You may want the ruler to stick. Buy what you can afford and upgrade later.
- Thread. Aurafil is 100% cotton. 50wt thread is perfect for piecing. White, off-white, grey, and black are the only colors I use for piecing. For quilting, 40wt thread in a color that matches. I prefer 100% cotton thread.
- Needles. For piecing, I use Schmetz Universal Needles in Size 80/12. Schmetz Topstitch Sewing Machine Needles size 90/14 is my choice for quilting.
- Pins. You need a sharp pin to pierce several layers of fabric without having any of the fabric shift. Clover flat head pins or Bohin quilting pins are medium length and sturdy for pinning the thick layers at the seams. Bohin extra long pins are long and flexible. They slide through the fabric without shifting the layers. I use the Bohin pins when pinning only 2 layers of fabric when attaching borders, and sewing together backing and binding. Clover clips are helpful for attaching binding.
- Seam ripper. You will make mistakes. Expect to make mistakes. You need a plain old fashioned seam ripper. Find one with a long handle.
- Iron. A hot iron. You don’t need steam. I have an Oliso that I bought used 15 years ago. It’s still amazing.
- Starch. Have you ever tried to cut tissue paper? How about regular paper? Regular paper is far easier to cut than tissue paper. Starched fabric is easier to cut than unstarched fabric. I prefer Faultless. I buy it in the grocery store with the rest of my groceries. It was good enough for my mom to use on my dad’s uniform shirts. It’s good enough for me.
What’s next?
When you’re ready, come back, and we’ll get started learning to sew your first quilt.

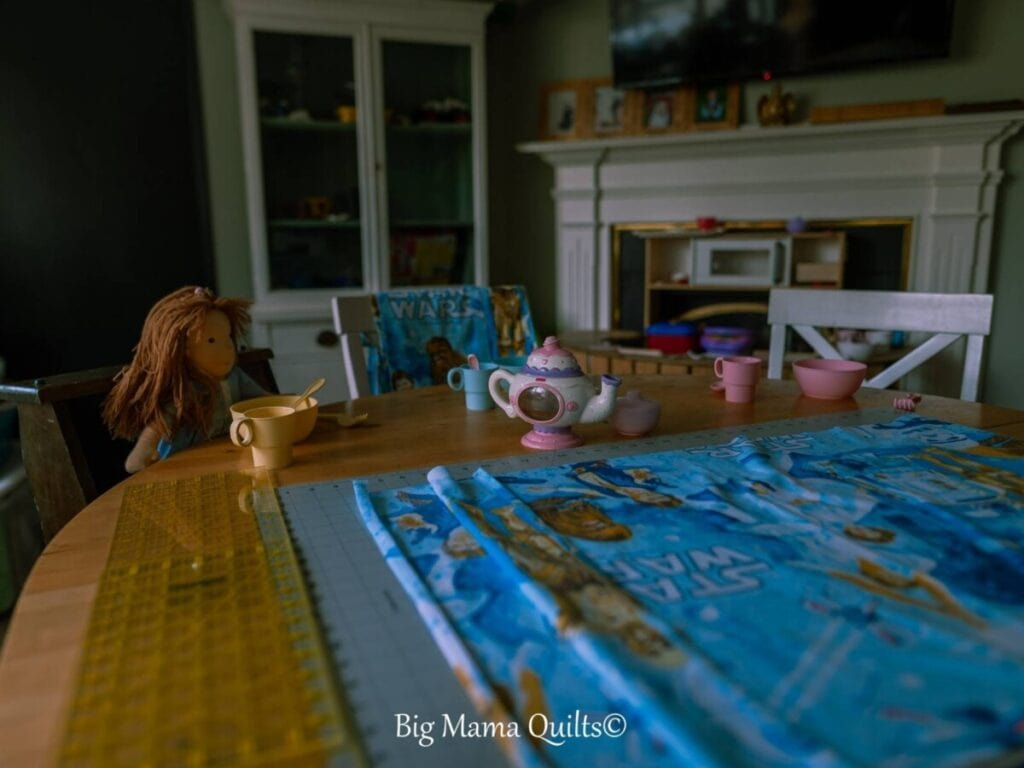
Do not worry if you fear you need a special space. A sewing room filled with bolts of fabric and cute thread organizers and soft music playing may be the social media ideal. I sew and quilt at a table in our playroom and sometimes at the dining room table. A playroom full of books, Legos, a play kitchen, and lots of laughter. Would you like to join me?
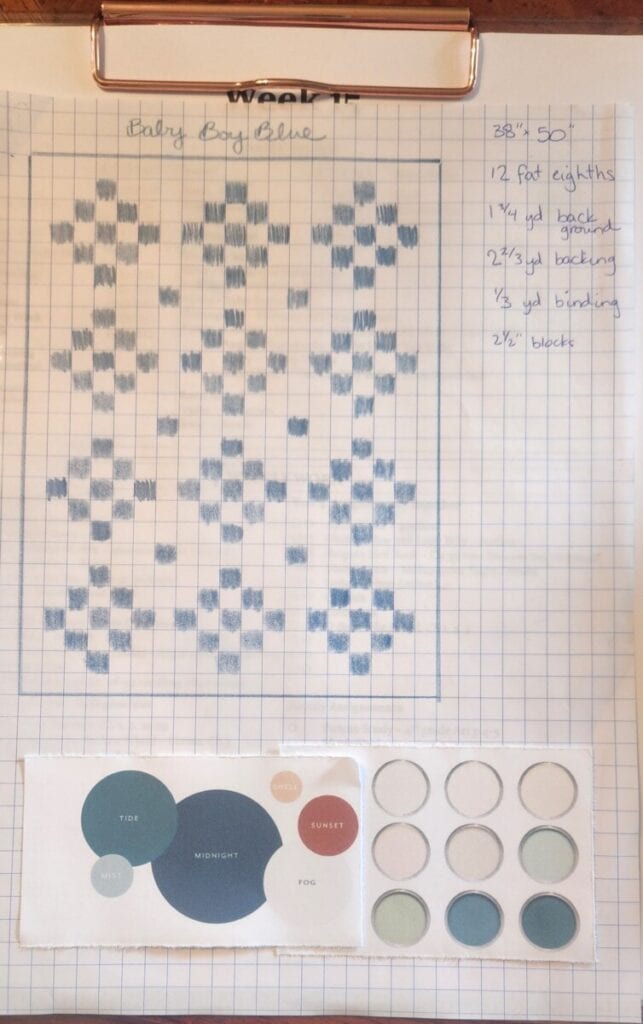
The first step is choosing a simple pattern that resonates with you. I begin every quilt by sketching my idea on graph paper. It helps me to work out the quilt math of how much fabric I need. Next, I find a color palette I like to match the vision in my head.
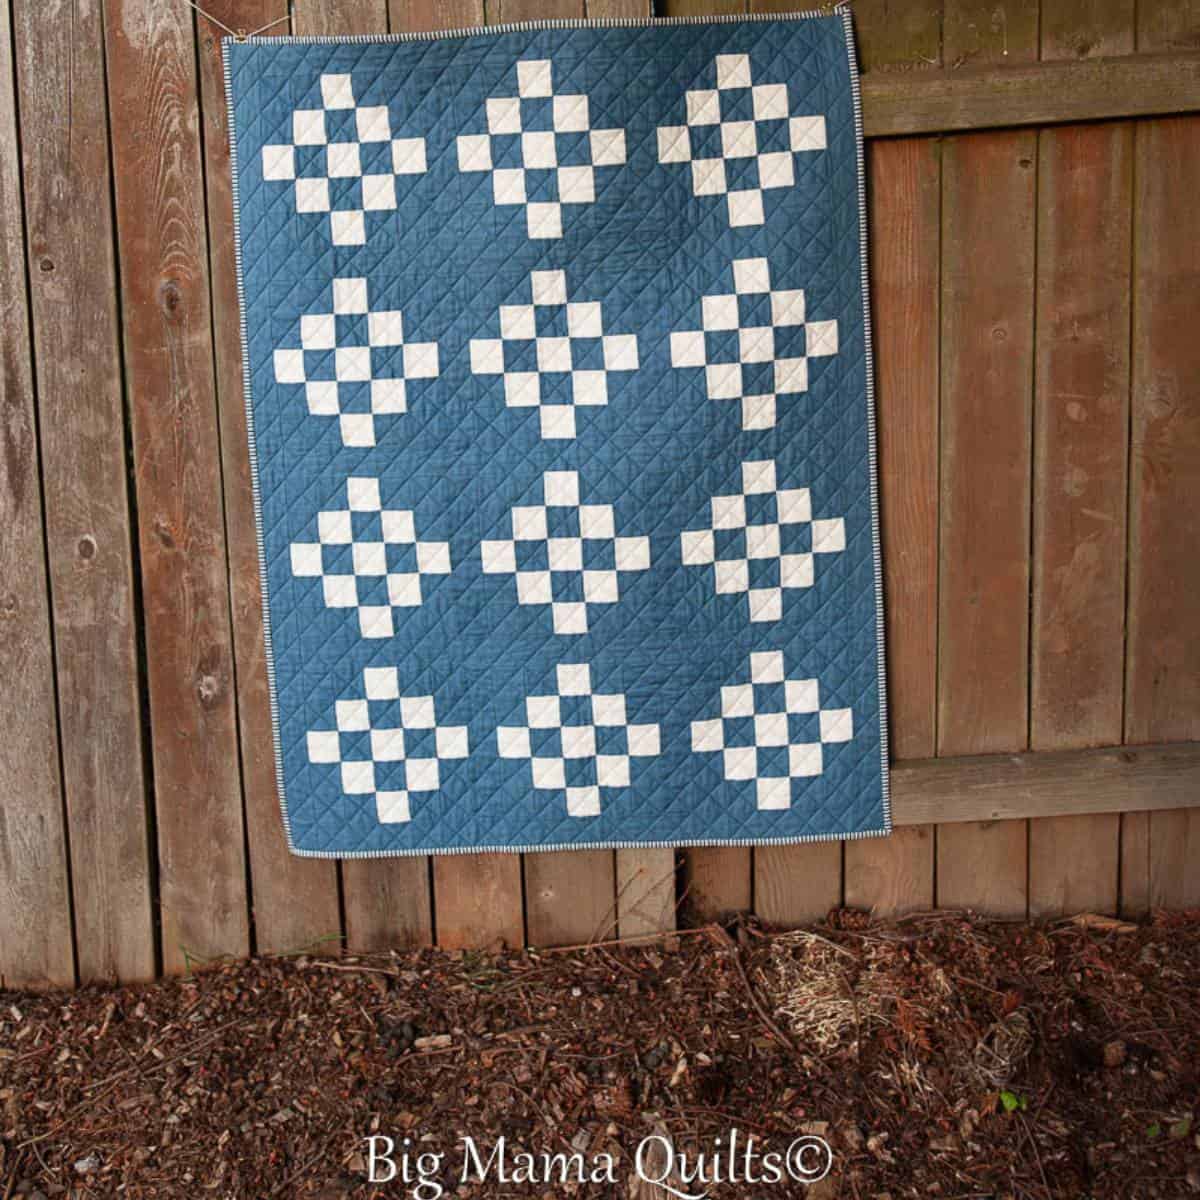
Many simple and timeless patterns work well for a first quilt. Consider starting with a simple patchwork quilt of 5” squares. Known for straightforward construction and classic appeal, a rail fence quilt, an Irish chain quilt, or nine-patch quilt are other beginner-friendly options.
Next in our series, we’ll finalize our pattern. Be prepared with a reliable sewing machine and other essential supplies. We’ll cover how to choose fabric, measure and cut fabric accurately, and start assembling your pieces. Remember, having all your supplies organized will make the process smoother and more enjoyable. Pour a cup of coffee, let’s bring your creative vision to life.